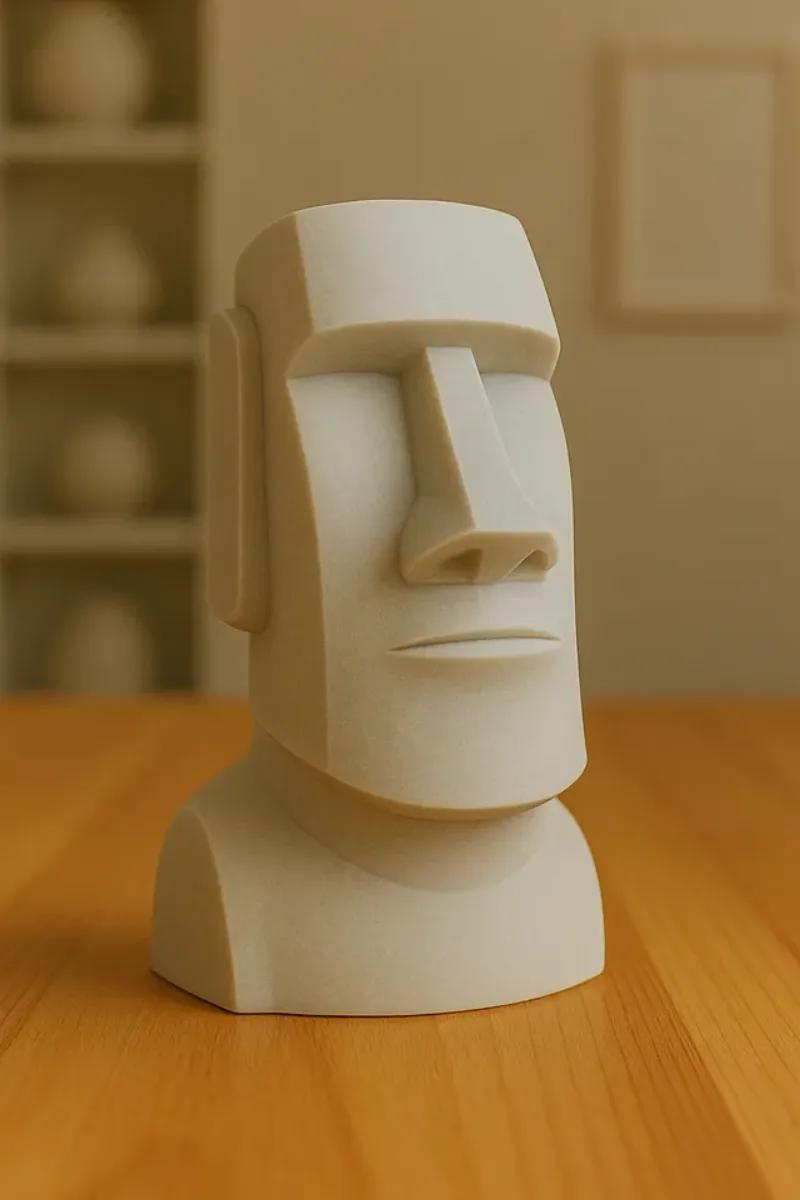
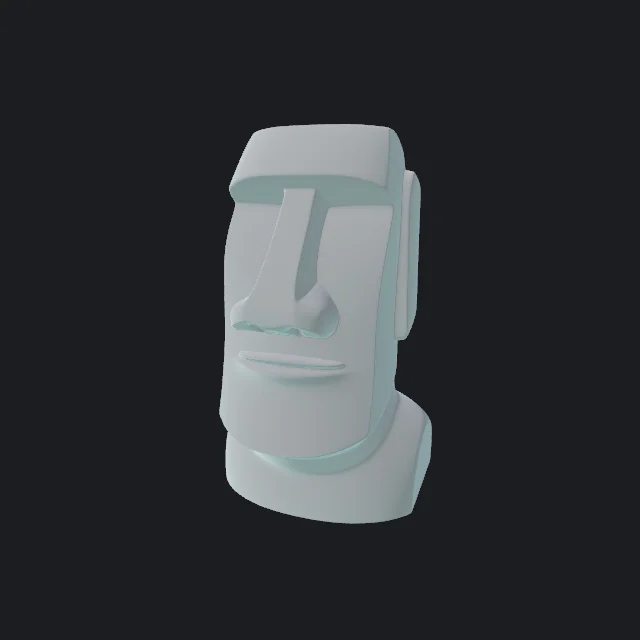
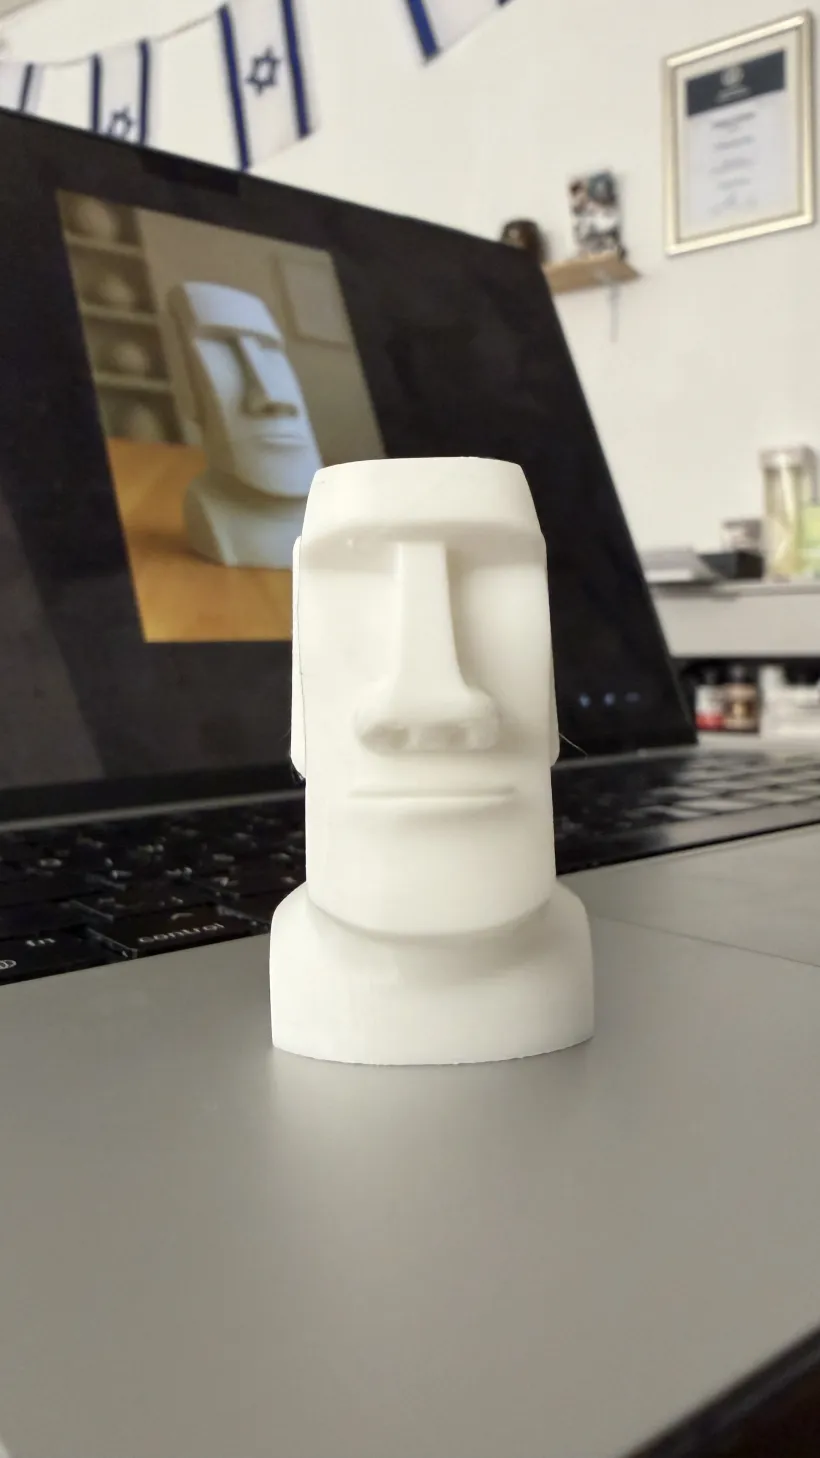
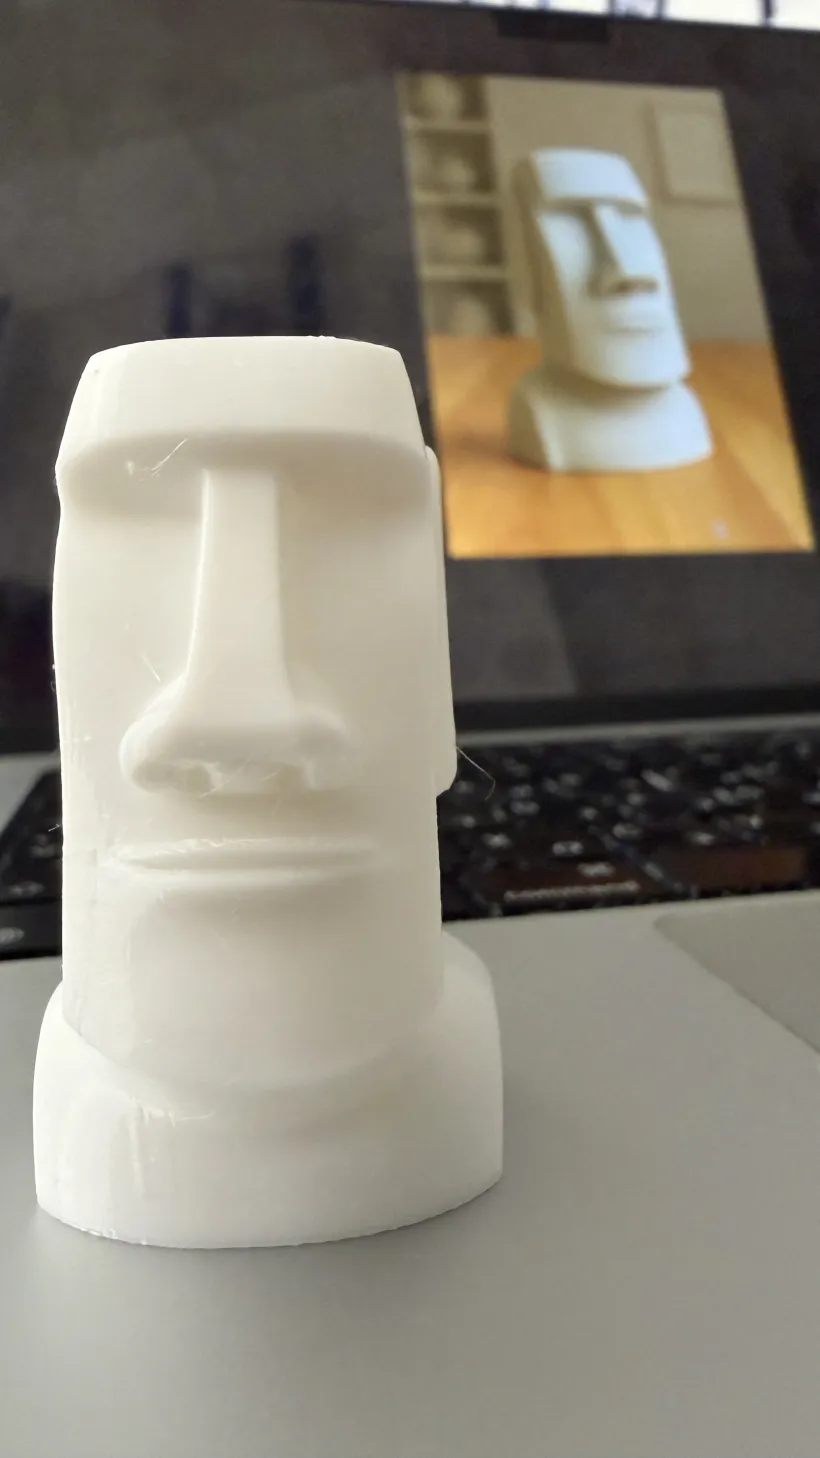
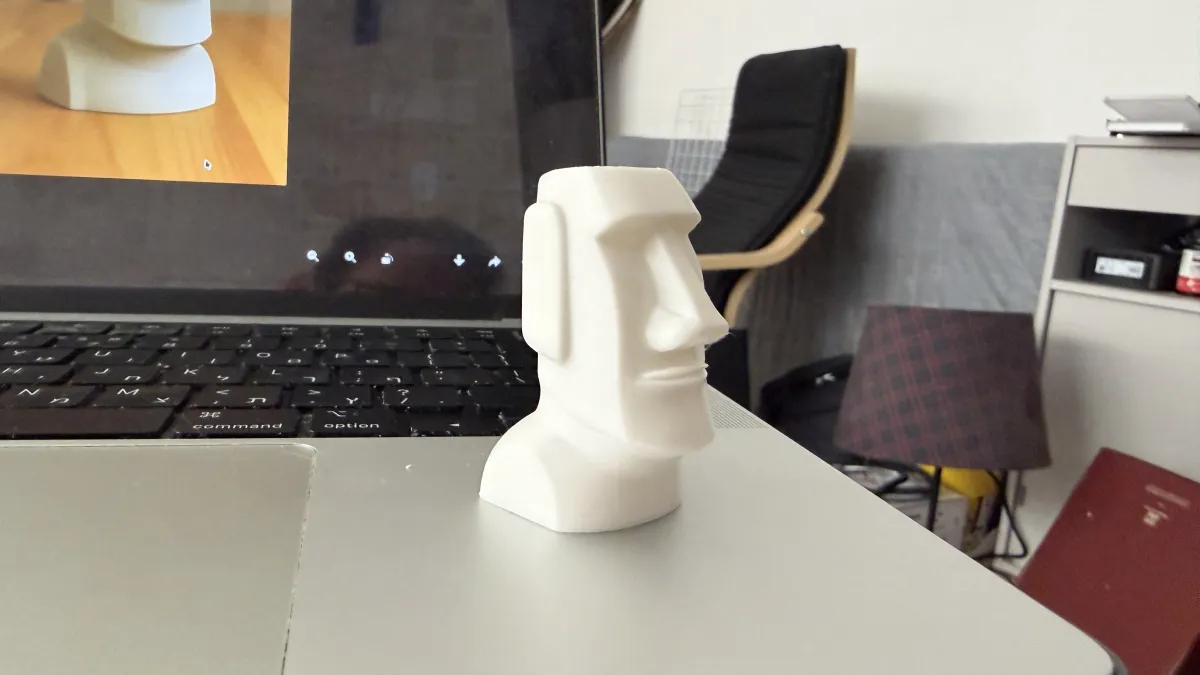
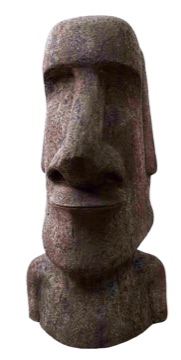
A real photo, generated in 3D Mate, exported print-ready, and printed at home. Nothing left the Mac.
Image to 3D/Image to 3D print
You do not want a mesh. You want to hold the thing. This is the whole journey, from a picture to an object on your printer's bed, done on your Mac with a Bambu, Prusa, or any printer your slicer supports.
A real photo, generated in 3D Mate, exported print-ready, and printed at home. Nothing left the Mac.
3D Mate handles the model. Your slicer handles the printer. Here is the whole path.
A clear, well-lit photo of one subject prints best. Simple objects with solid shapes beat thin, spindly, or transparent ones.
Pick an engine built for clean geometry and generate on your Mac. The result is a solid, printable shape.
Rotate it in the viewer. Check for gaps, thin spots, or floating bits before you spend filament.
Watertight, upright, and real-scale. Use 3MF where your slicer supports it, STL everywhere else.
Open the file in Bambu Studio, Cura, or PrusaSlicer. Set scale and orientation, add supports for overhangs.
Send it to your printer. Fine layer heights suit small, detailed pieces. Then hold the result.
People new to printing often blur these two. Keeping them separate makes every problem easier to place.
Turns your image into a watertight 3D model and exports STL or 3MF, upright and at real scale. This is the shape.
Bambu Studio, Cura, or PrusaSlicer sets size, orientation, supports, and layer height, then produces the G-code your printer runs.
Tiny features snap or blob. A single photo can produce fine, fragile details. Scale the model up in your slicer, or print at a finer layer height so small features resolve.
Overhangs sag. AI shapes are organic and often have overhangs. Reorient the model on the plate to reduce them, and let the slicer add supports where needed.
The back looks invented. From one photo it is. If the back matters for the print, shoot a few more angles of the same object, or use Photo Scan to measure a real object you own.
The mesh looked leaky elsewhere. 3D Mate's print export is watertight by design, so the STL and 3MF open ready to slice. See what a watertight mesh is for why that matters.
For a subject-specific walkthrough, see photo to a 3D-printed figurine or the small-scale tabletop miniature guide.
Clean, watertight geometry prints better than a pretty texture.
Clean, watertight geometry with crisp edges, made for 3D printing.
The sharpest geometry here, with well-defined edges and detail.
The dependable default, solid on almost any subject.
Need the STL specifics first? See image to STL. New to the idea? Start with photo to 3D model.
Watertight models on your Mac, ready for your slicer. Free to try.